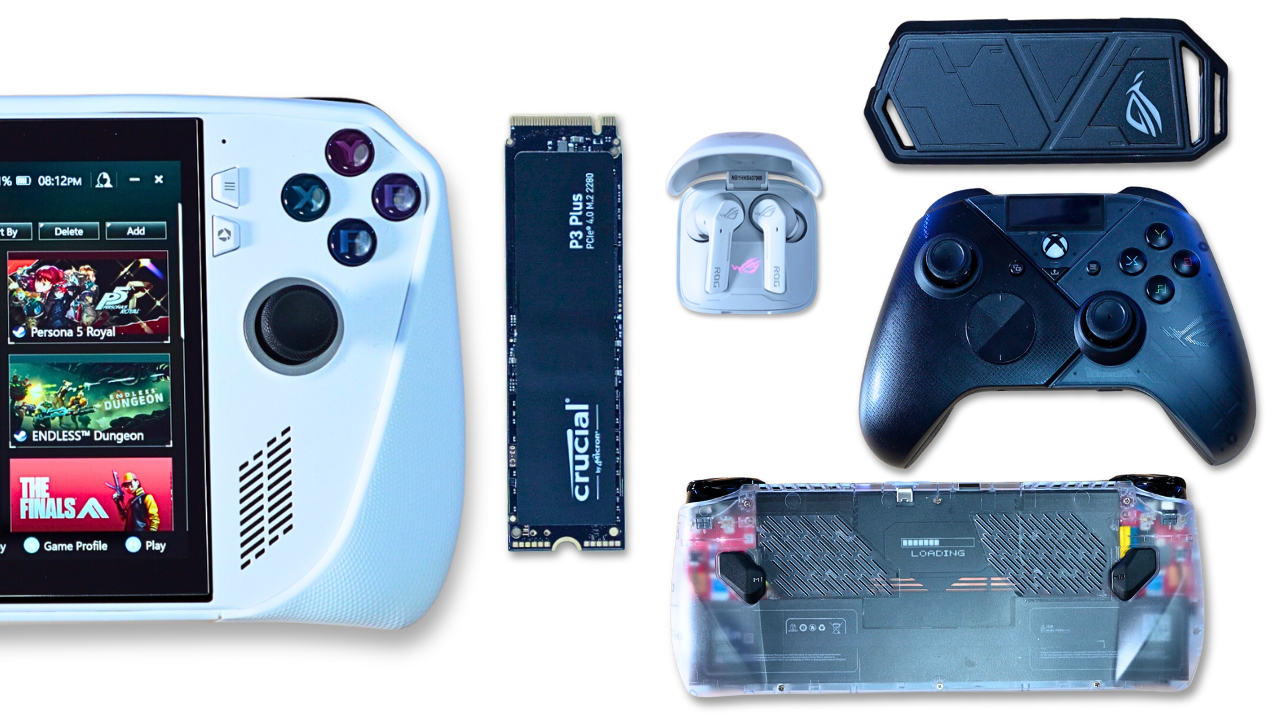
Upgrading your Asus ROG Ally’s storage capacity can bring a significant boost to your gaming and multitasking experience. In this article, I’ll walk you through my recent upgrade from a 2 TB Sabrent SSD to a massive 4 TB 2280 SSD from Crucial. Along the way, I’ll share some of the accessories I used, such as adapters, enclosures, and cooling kits, to help you make the most of your storage upgrade.https://youtu.be/l-vGk8ociPI
I’ll guide you through the step-by-step installation process, including the necessary disassembly, reinstallation of hardware, and other useful tips to ensure a smooth transition. Additionally, I’ll touch upon some essential accessories to enhance your ROG Ally’s functionality, like cases and cooling solutions. You’ll also get insights into how I set up my system post-installation, my experience with cooling and heat management, and the benefits of a transparent RGB backplate. Whether you’re a seasoned gamer or just looking to expand your storage, this article has something for everyone. Let’s dive in!
SSD Installation
First, I removed the six screws on the back of the ROG Ally using a Phillips head screwdriver. With the screws removed, I used a small plastic pry tool to open the back. This time, it was a bit easier because I’d done it before. Once I got the back plate off, I disconnected the battery. I learned from a viewer that there are two locations to unplug the battery, and for this installation, I should have used the bottom connecting point.
After unplugging the battery, I removed the old SSD and plugged in an adapter for the new SSD. I then screwed the 4 TB Crucial SSD into the adapter and reconnected the battery. After replacing the back cover and the screws, I had to plug in the ROG Ally to a power source for it to start up again. The system booted into BIOS, and I used Asus’s cloud recovery program to do a fresh install of Windows and the Armory Crate software. You also have the option of cloning your original SSD with Macrium Reflect software, but I went with a clean install.
Additional Changes and Accessories
I installed Steam and re-downloaded my games. Everything worked normally, but I did make some additional changes to the SSD, which I’ll talk about later. If you like this content, don’t forget to hit the Subscribe button—it helps the channel!
Regarding the SSD I removed, I put it into a ROG Strix Arion NVMe SSD enclosure. This enclosure can fit various sizes of M.2 SSDs, and it’s probably the coolest enclosure I’ve purchased. It’s made of aluminum, has a bumper with ROG branding, and comes with RGB lighting to let you know it’s working. Installation is straightforward—just open the enclosure with the provided cell phone pin, insert the SSD, and screw it into place.
Case and Cooling Kit
The JX RGB transparent back plate was a straightforward installation. I removed the four triggers from the Asus ROG Ally’s back plate, then installed the new back plate with the RGB module. There’s a power button on the RGB module, and it fits over the newly installed SSD without issue. To prevent heating problems, I used an Easy Cargo cooler kit. I installed a silicone thermal pad, then added a heat-dissipating copper plate, and reinstalled the SSD. I also checked the SSD’s temperature through Windows settings and by using an infrared thermometer.
Conclusion
Overall, I think the RGB back plate looks fantastic, though it lacks texturing, which might affect grip. I played Call of Duty in Turbo mode, and the SSD’s temperature reached 59° C, while the outside temperature was 37.2° C. The temperature stayed steady even after extended gameplay, suggesting the cooler kit was doing its job.
If you’re interested in protecting your ROG Ally, consider the JX mod case. It’s made of soft TPU, has a plastic plate on the back, and includes cutouts for all the ports and vents. It also has a kickstand and a travel cover to protect the screen and buttons. You can even charge your ROG Ally with the case on.
If you don’t have earbuds yet, check out the ROG Cetra earbuds. They support wireless charging, connect via Bluetooth, and have hybrid active noise cancellation. They fit well and sound great, but they won’t replace my Apple AirPods.
As for controllers, the Asus ROG ROG Ally controller works well with the ROG Ally. It has textured grips, a pocket for the 2.4 GHz receiver, and an LED display for changing profiles and functions. I’ll be writing another article comparing this controller with others I own. Let me know in the comments below if you’ve used any of these products or have any other recommendations for ROG Ally accessories.
